

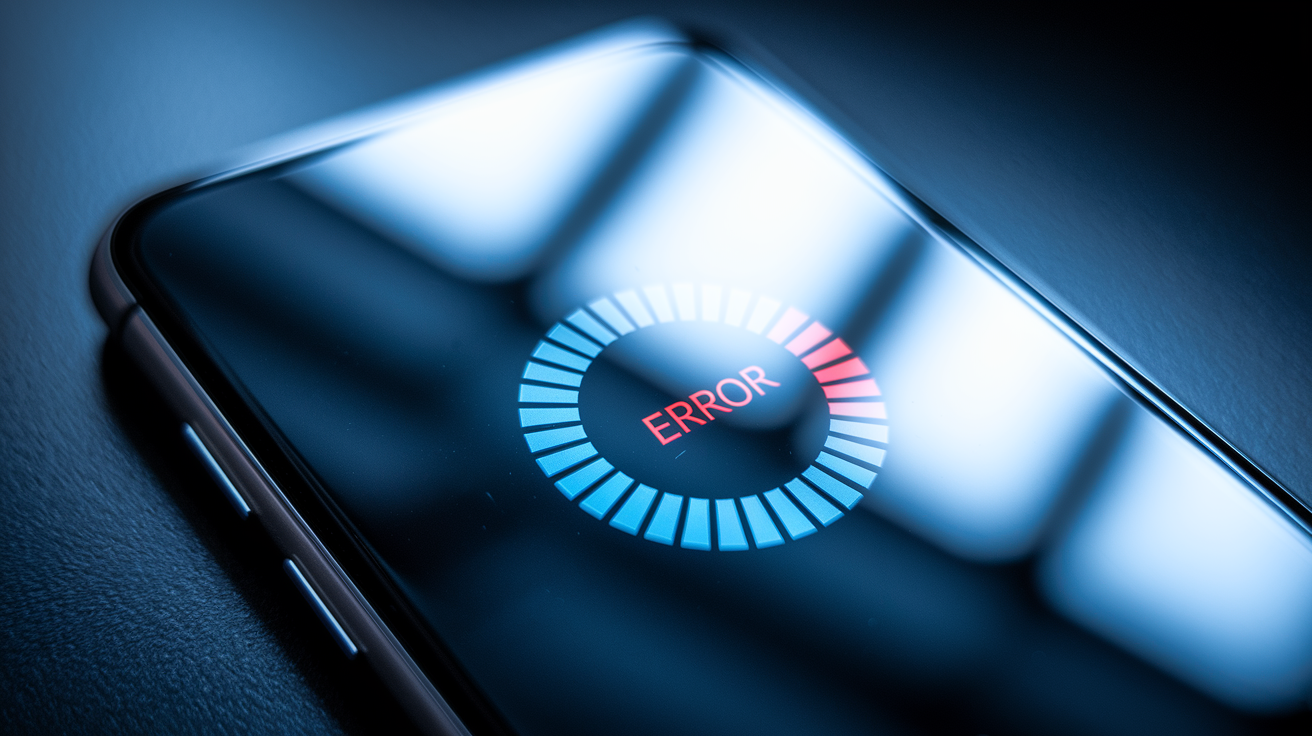
Ever tapped Update only to get “App Update Verification Failed” and wondered if your phone’s broken?
Before you dig into long troubleshooting, try four fast fixes that clear most verification errors in under two minutes.
This guide walks you through the fastest fixes: restart, toggle Airplane Mode, sign out and back into the App Store, then retry, and then shows what to do next if the issue remains, like checking Apple ID security, your network, available storage, and app certificates.
Immediate Fixes for Resolving the App Update Verification Error
App update verification failed messages show up when your device can’t confirm the update’s authenticity with Apple’s servers. Before you dig into deeper troubleshooting, try the fastest fixes. They resolve most verification errors in under two minutes.
These quick actions refresh your device’s connection to Apple’s authentication servers and clear temporary glitches blocking the verification handshake. Most people find success with one of these steps.
If the error sticks around after you’ve tried all four quick fixes, the problem’s probably tied to your Apple ID security settings, network configuration, or device issues that need the step-by-step methods covered later.
Quick fixes to try first:
- Restart your device. Power off completely, wait 60 seconds, then power on to reset all active network sessions and authentication tokens.
- Toggle Airplane Mode. Enable Airplane Mode for 10 seconds, disable it, and wait for WiFi to reconnect before retrying the update.
- Sign out and back into the App Store. Open Settings, tap your name, scroll to Media & Purchases, tap Sign Out, then sign back in to refresh your App Store credentials.
- Retry the update after the connection refreshes. Wait 30 seconds after toggling Airplane Mode or signing back in, then tap Update again in the App Store.
Causes Behind App Update Verification Problems on iOS and iPadOS

App update verification failed errors stem from a handful of core authentication and connectivity problems. The most common trigger? A mismatch between your device’s stored Apple ID credentials and the current session token Apple’s servers expect during the update handshake.
When your device last signed into the App Store weeks or months ago, that session can expire or become invalidated by password changes, security updates, or server account modifications. So when you attempt an update, verification fails.
Network instability and incorrect date and time settings create another frequent failure pattern. Apple’s verification process relies on precise time synchronization between your device and Apple’s servers. If your device clock is off by more than a few minutes, or if your WiFi connection drops packets during the initial handshake, the cryptographic signature check fails. The update gets rejected. This explains why verification errors often resolve immediately after correcting the date and time to automatic or switching from a congested WiFi network to a stable one.
Apple Server outages, corrupted partial downloads, and outdated iOS versions round out the primary cause list. A temporary Apple System Status problem (check the green, yellow, or red indicators at apple.com/support/systemstatus) can block all App Store traffic for minutes or hours. Interrupted downloads leave corrupted cache files that prevent verification from completing, even on retry.
Running an older iOS version that lacks current security certificates can also trigger verification failures. Apple periodically rotates the cryptographic keys used to sign app updates, and older OS builds may not recognize new signatures.
Step-by-Step Troubleshooting Guide When App Updates Cannot Be Verified

When the immediate fixes don’t resolve the error, work through this sequential troubleshooting workflow. Each step targets a specific failure point in Apple’s update verification chain.
Complete troubleshooting sequence:
-
Check Apple System Status. Visit apple.com/support/systemstatus and confirm the App Store indicator shows green. Yellow or red means a temporary service problem. Wait and retry later.
-
Verify your WiFi connection is stable. Open Settings > WiFi, confirm you see full bars, and run a speed test or load a webpage to ensure the connection is active and fast enough for downloads.
-
Set Date & Time to automatic. Go to Settings > General > Date & Time and enable Set Automatically. Restart your device after changing this setting.
-
Update iOS to the latest version. Open Settings > General > Software Update. If an update is available, install it before retrying the app update.
-
Reset Network Settings. Navigate to Settings > General > Transfer or Reset iPhone > Reset > Reset Network Settings. This clears saved WiFi passwords, so have them ready to re-enter.
-
Sign out of your Apple ID completely, then sign back in. Go to Settings > [Your Name] > Sign Out. Enter your Apple ID password when prompted, choose Keep on My iPhone for data, then restart your device and sign in again at Settings.
-
Cancel the pending update and retry. In the App Store, tap your profile icon, swipe left on the stuck update, tap Delete, then search for the app and tap Update again.
-
Remove and re-add your payment method. Open Settings > [Your Name] > Payment & Shipping, tap your card, choose Remove, then Add Payment Method and re-enter all details including billing address and ZIP code.
-
Clear App Store cache by signing out of Media & Purchases. Settings > [Your Name] > Media & Purchases > Sign Out, wait 30 seconds, then tap Media & Purchases again and sign in.
-
Contact Apple Support if verification still fails. Use the Apple Support app or visit support.apple.com to open a case. Backend billing flags or account restrictions may require Apple’s direct intervention.
Fixing Verification Failures Caused by Apple ID Security Settings

Legacy Two-Step Verification (the older SMS-based security method Apple phased out) frequently causes app update verification failures. Why? Apple’s current update flow expects a device-level Two-Factor Authentication trusted-device check. If your Apple ID still uses Two-Step Verification, the App Store can’t complete the verification handshake and returns a “Verification Failed” error even when your password is correct.
Enabling Two-Factor Authentication for your Apple ID directly on an iOS or macOS device resolves this mismatch. You can’t enable 2FA via the appleid.apple.com website in this scenario. The device itself must become a trusted device first by adding the Apple ID as an iCloud account, then enabling 2FA in the account’s Password & Security settings.
Upgrade your Apple ID to Two-Factor Authentication:
-
On your iPhone or iPad, open Settings and scroll down to Passwords & Accounts (or Mail on older iOS versions). Tap Add Account, choose iCloud, and sign in with the secondary Apple ID that triggers the verification error.
-
After signing in, tap the newly added account, then go to Password & Security and tap Turn On Two-Factor Authentication. Follow the prompts to verify your phone number and confirm the upgrade.
-
If the account currently uses Two-Step Verification, the system will offer to convert it to 2FA. Tap Continue and complete the conversion. You don’t need to enable Contacts, Calendar, or Mail sync for this account. Only the account presence on the device is required.
-
Return to the App Store and retry the update. You should now be redirected to Settings to enter the verification code instead of seeing “Verification Failed.” The error will stop appearing for updates purchased under this Apple ID.
Storage, Network, and Device Configuration Issues Blocking Verification

Insufficient storage space prevents the App Store from downloading the update package completely. This causes verification to fail when the system attempts to validate an incomplete or corrupted file. Check available storage at Settings > General > iPhone Storage. If you see less than 2 GB free, delete unused apps, offload large media files, or clear Safari cache and message attachments to create room for the update.
Router restrictions, firewall rules blocking App Store traffic, and cellular data settings can also interrupt the verification handshake. Some home routers or enterprise networks block the ports Apple uses for app verification (443 and 5223). Restrictive firewall policies on managed devices may prevent cryptographic certificate checks from completing.
Hardware and network fixes to attempt:
- Restart your WiFi router. Unplug the router for 30 seconds, plug it back in, wait for the connection to stabilize, then retry the update.
- Switch to a different network. Connect to cellular data (if enabled for App Store in Settings > App Store > Cellular Data), a mobile hotspot, or a different WiFi network to bypass router blocks.
- Disable VPN or proxy settings temporarily. Go to Settings > VPN or Settings > WiFi > [Your Network] > Configure Proxy and turn off any active VPN or proxy that may interfere with Apple’s server communication.
- Free up storage by offloading unused apps. Settings > General > iPhone Storage > Offload Unused Apps enables automatic cleanup while preserving app data.
- Check cellular data permissions for the App Store. Settings > App Store > Cellular Data must be enabled if you’re updating over a mobile connection instead of WiFi.
When Certificate or Profile Validation Causes App Update Verification Errors

Enterprise-managed devices, TestFlight beta apps, and apps installed via MDM (Mobile Device Management) profiles rely on digital certificates that expire or become revoked. When a certificate expires, the App Store can’t verify the app’s signature and blocks the update with a verification error. This scenario is common in corporate or school-managed devices where IT departments control app distribution through configuration profiles.
Apps installed outside the official App Store using developer certificates or enterprise provisioning profiles will fail verification if the signing certificate is no longer valid. Unlike consumer App Store apps signed by Apple, enterprise and beta apps depend on third-party certificates that have finite expiration dates, typically one year. Once expired, the app can’t be updated or launched until the administrator renews the certificate and redistributes the app.
Handling Expired or Revoked Certificates
If you manage enterprise apps or participate in TestFlight betas, expired certificates require action from the app developer or IT administrator. Check Settings > General > VPN & Device Management to view installed profiles and their expiration status. Profiles listed with a red “Expired” label must be removed and replaced with updated versions.
Contact your IT administrator or the app developer to request a renewed provisioning profile or updated enterprise certificate. Once the new profile is installed, delete the app showing the verification error, reinstall it using the updated profile, and the update process will succeed. Consumer App Store apps don’t have this issue because Apple’s own certificates are automatically trusted and don’t expire in ways visible to end users.
Advanced Repair Options When Verification Continues to Fail

When all standard troubleshooting fails, restoring your device through a computer using iTunes (Windows) or Finder (macOS) can eliminate persistent verification errors caused by corrupted system files or damaged app metadata. This method erases all data and settings, so back up your device to iCloud or your computer before proceeding. A factory restore rebuilds the iOS installation from scratch, removing any hidden authentication conflicts or cache corruption that prevents verification.
Complete device restore and recovery workflow:
-
Back up your iPhone or iPad to iCloud (Settings > [Your Name] > iCloud > iCloud Backup > Back Up Now) or to your computer via iTunes/Finder.
-
Connect your device to a computer with a USB cable and open iTunes (Windows or macOS Catalina and earlier) or Finder (macOS Big Sur and later).
-
Select your device when it appears in the sidebar or main window, then click Summary or General.
-
Click Restore iPhone (or Restore iPad) and confirm the action. The computer will download the latest iOS version and erase the device.
-
Wait for the restore process to complete. Don’t disconnect the device until you see the “Hello” setup screen.
-
On the device, tap Unlock with Passcode (or Use Device Passcode) when prompted, then choose Restore from iCloud Backup or Restore from Mac or PC to recover your data.
-
Sign in with your Apple ID during setup and retry the app update once the restore and data recovery finish. The verification error should no longer appear.
| Restore Method | Data Loss Risk | Time Required | When to Use |
|---|---|---|---|
| iTunes/Finder Restore | Complete (if no backup) | 30–60 minutes | Persistent verification errors after all other fixes fail |
| Reset All Settings | Settings only (no media) | 5–10 minutes | Network or system setting corruption suspected |
| Sign Out & Sign In | None | 2–3 minutes | Apple ID authentication mismatch or expired session token |
| Reset Network Settings | Saved WiFi passwords | 3–5 minutes | WiFi instability or network configuration conflicts |
Preventing Future App Update Verification Problems

Keeping Two-Factor Authentication enabled for all Apple IDs you use on your device eliminates the most common source of verification failures. Apple’s update flow expects 2FA and may not reliably support legacy Two-Step Verification, so convert any accounts still using the older SMS-based method by adding them as iCloud accounts on your device and enabling 2FA in Password & Security settings.
Maintain at least 5 GB of free storage at all times to ensure update packages can download and verify without running out of space mid-process. Enable automatic iOS updates at Settings > General > Software Update > Automatic Updates so your device stays current with the latest security certificates and authentication protocols Apple deploys.
Best practices to avoid verification errors:
- Remove unused Apple IDs from your device. Go to Settings > Passwords & Accounts and delete any old iCloud accounts you no longer use for app purchases to prevent authentication conflicts.
- Keep payment information current. Update expired cards and billing addresses at Settings > [Your Name] > Payment & Shipping before they cause App Store holds.
- Use stable WiFi for updates. Avoid updating apps on congested public WiFi or weak cellular signals. Wait for a strong, reliable connection.
- Check System Status before troubleshooting. Save time by confirming apple.com/support/systemstatus shows green for App Store before assuming the problem is on your device.
Final Words
Jump straight to the quick triage: restart the device, toggle Airplane Mode, sign out and back into the App Store, then retry the update once the connection refreshes. These usually fix most cases fast.
If that doesn’t work, follow the step-by-step guide — check Apple ID security, storage and network settings, certificates, or use a computer restore as a last resort.
If you still see app update verification failed, take the deeper steps above and you’ll likely get the update installed without losing data. Stay calm—help is close.
FAQ
Q: Why does the App Store keep saying verification failed? / Why does my new iPhone keep saying verification failed?
A: The App Store or a new iPhone shows “Verification Failed” because Apple ID authentication, expired developer certificates, incorrect date/time, or temporary Wi‑Fi or Apple server issues are blocking verification.
Q: How do I fix failed app verification?
A: To fix failed app verification, restart your device, toggle Airplane Mode, sign out and back into the App Store, then retry the update after the connection refreshes.
Q: Why am I not getting my child’s app requests on my iPhone?
A: You’re not getting your child’s app requests because Family Sharing, Ask to Buy, notification settings, or Apple ID links may be off; check those settings and sign both accounts back in.
